
pantry organization · kitchen organization · food waste
Pantry Can Organization: Racks, Risers and Rotation
Cans get lost on deep shelves, duplicates pile up, and dented or swollen tins hide at the back. Here's how to choose can storage that fits your space, set up a rotation you'll keep using, and match your stock to your shopping.
In this guide
- Why Cans Are the Hardest Thing in the Pantry to Keep in Order
- Start With an Audit Before You Buy Anything
- Matching Can Storage to Your Shelves
- Pantry Can Organization by Category and Zone
- Building a Rotation You'll Keep Using
- Storage Conditions and Checking Can Condition
- Keeping the System Going With Your Shopping and Meal Plan
Why Cans Are the Hardest Thing in the Pantry to Keep in Order
Pantry can organization is less about how the shelf looks and more about whether you can read every label in the few seconds you spend looking for tomatoes. Cans are all the same shape, they're heavy, and they nearly always end up in rows. Once the front row is full, everything behind it is out of sight.
That's where the trouble starts. Cans you can't see don't get used, so you buy another one, and the older can drifts further back. The Kitchn describes the familiar routine of shuffling every can in the front row just to reach the one in the back corner. Most cooks know that routine well.
There's a practical reason to fix this besides convenience. Better Homes & Gardens points out that well-organized canned goods help you keep track of dates. They also make it easier to spot cans that are rusting or swollen, which are signs of spoilage. A good system does three things:
- Visibility: you can read every label without moving anything.
- Rotation: the oldest can is always the easiest one to grab.
- A fixed home: each category lives in one place, so you know right away when you're low.
Every tool and layout below supports at least one of these. If a product doesn't help with any of them, it's just another object taking up shelf space.
Start With an Audit Before You Buy Anything
A common mistake is to buy organizers first and then try to make the cans fit them. Work the other way around. An hour spent with your current stock tells you what kind of storage you need, how much of it, and where it should go.
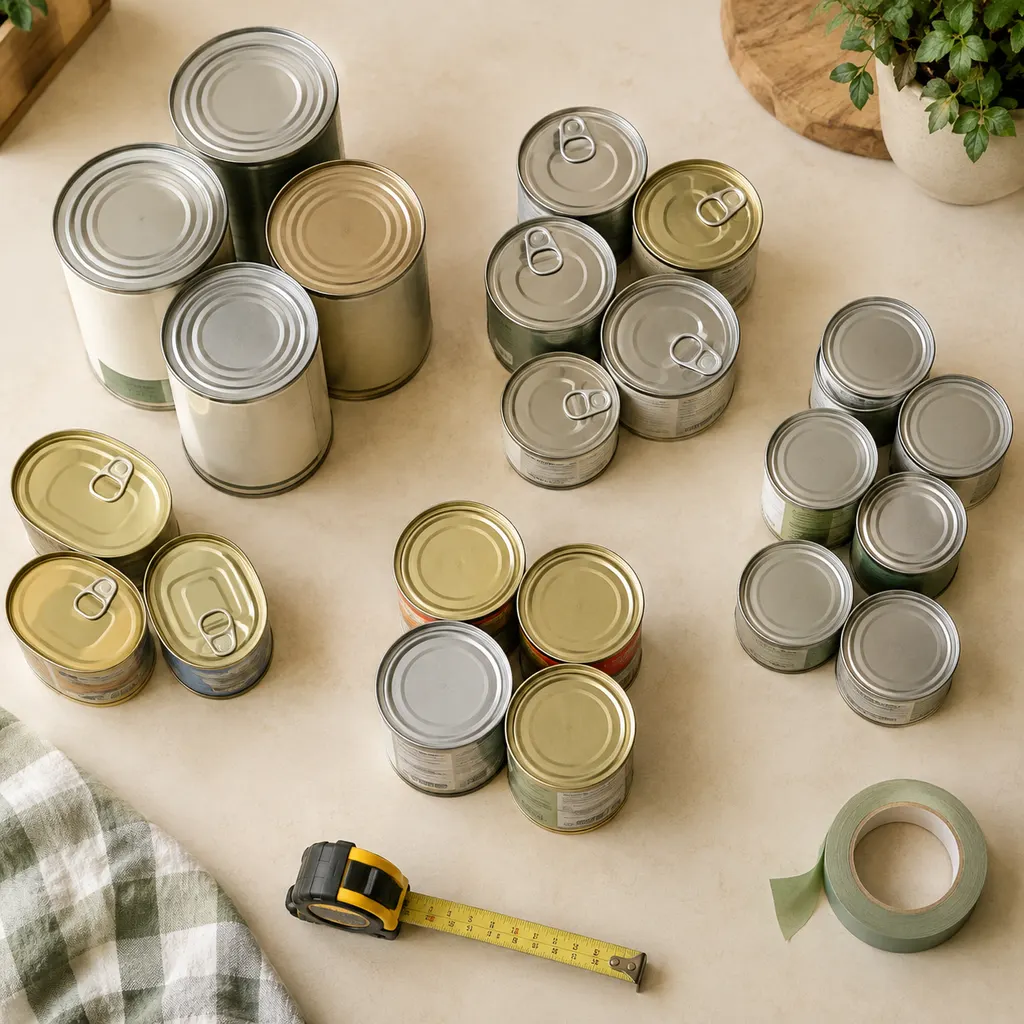
- Empty the zone. Take every can off the shelf or out of the cabinet and put them on a clear counter or table. If your counters are already crowded, our guide to kitchen counter organization can help you clear a work area first.
- Sort into rough groups. Beans and legumes, tomatoes, broths and soups, fish, fruit, coconut milk, baking cans, and so on. Use categories that match how you cook, not how the shop shelves them.
- Check each can. Look at the date and the condition. Put anything rusted, bulging or leaking to one side and don't use it. Put cans that are close to their date in a separate "use soon" group.
- Count. Write down roughly how many cans are in each group. This tells you whether a category needs a full dispenser row or just a small spot on a turntable.
- Note duplicates. If you find four of something you thought you'd run out of, your current setup is hiding stock. That's the most important problem to fix.
What to measure
Measure carefully before you look at any products:
- Shelf depth, from the front edge to the back wall. This decides whether you need risers, dispensers or pull-out bins.
- Clear height between shelves. Stacked dispensers and tall risers often need more space than you'd expect.
- Usable width, especially in cabinets with a center stile or hinges that stick into the opening.
- Door clearance, if you're thinking about a rack on the inside of a door.
- The can heights you buy most. A small tomato paste tin and a large tin of whole tomatoes behave very differently in a rolling dispenser.
Decide what kind of stock you keep
Be honest about whether you keep a small rotating supply or a large stockpile. A handful of cans you go through every week needs a different setup than several dozen bought in bulk. That one answer rules out half the options in the next section.
Matching Can Storage to Your Shelves
No single organizer works best for every pantry. Each one solves a particular problem and creates new limits. The table compares the most common options.
| Option | Works best for | Trade-offs | Watch out for |
|---|---|---|---|
| Tiered riser ("stadium seating") | Mixed can sizes on medium-depth shelves | Shows every label, but only a few rows deep | Tall cans on the front tier hiding the rows behind |
| Gravity dispenser | Several cans of the same few items; deep shelves | Rotates automatically; works poorly with odd sizes | Slots that don't fit the cans you actually buy |
| Turntable (lazy Susan) | A small collection; corner cabinets | Easy access, but wastes the square corners of a shelf | Overloading it with a stockpile |
| Deep drawer | Heavy stock in base cabinets | You read the tops, not the sides; needs a sturdy drawer | Cans rolling and shifting without dividers |
| Bins and baskets | Grouping by category; pulling out the back of a shelf | Flexible, but cans can still stack and hide inside | Opaque bins with no label |
| Wall or door rack | Walk-in pantries and blank walls | Frees up shelves; holds less per row | Weight on a door and how far it opens |
| Rolling cart | Overflow and bulky backup stock | Movable, but takes up floor space | Turning into a junk zone |
Tiered risers
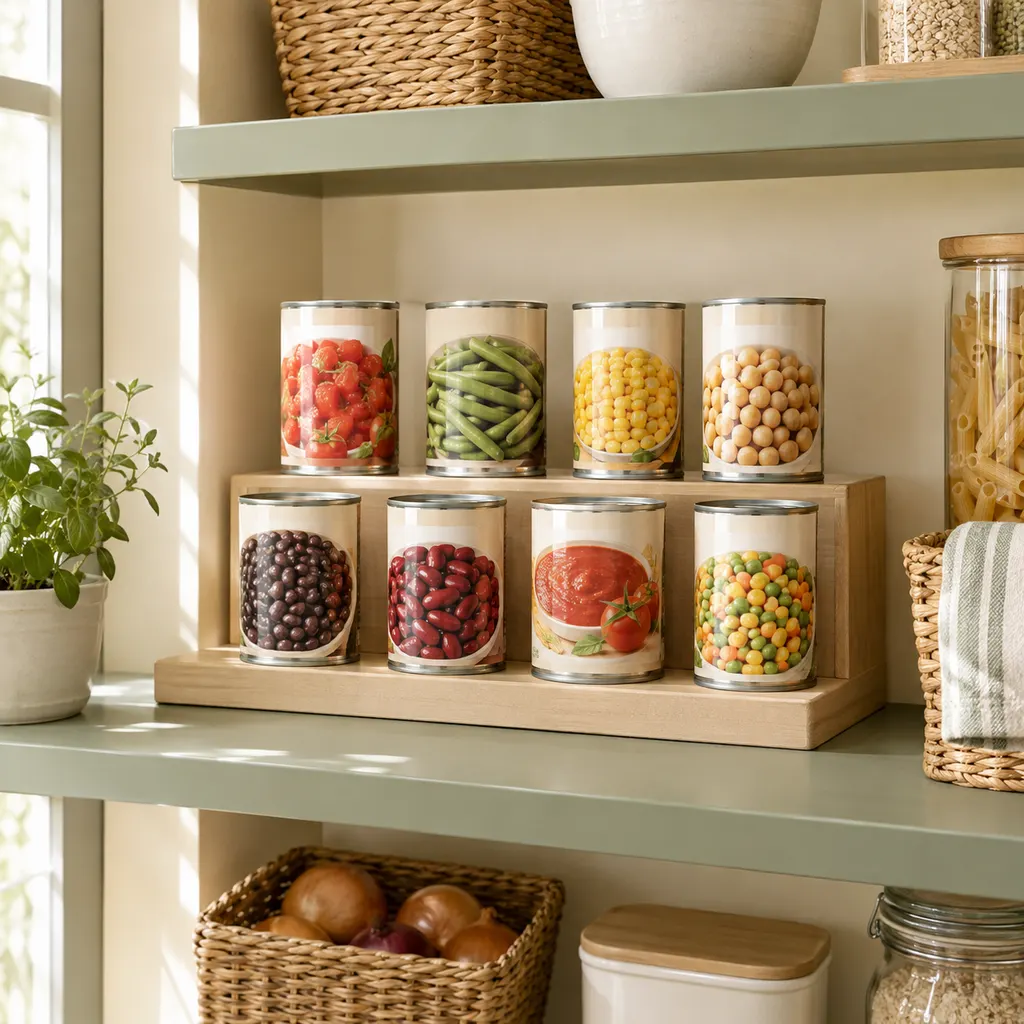
Risers lift each row a step above the one in front. They come in acrylic, bamboo or metal, and Better Homes & Gardens notes that many expand to fit different shelf widths. They're the best fit for mixed collections because they don't care about can size. Put the shortest cans on the lowest front tier. A tall can at the front defeats the whole point.
Gravity dispensers
Dispensers make the most of deep shelves. When you take a can out, the next one rolls forward, so you can tell you're running low just by looking. BHG suggests putting larger cans on the lower levels and smaller ones on top. Many models have adjustable levels for this. Some are designed to stack. One rack reviewed by The Kitchn holds up to 36 cans and connects vertically with other units. The catch is that dispensers only work smoothly when the cans are close to the same diameter and height. If you buy many different brands and sizes, cans can jam or tip over.
Turntables
A turntable keeps everything one spin away. One staffer at Serious Eats uses clear turntables for backup condiments, cans and spices so they don't have to empty the cabinet to see what's at the back. BHG makes a useful point: turntables suit small collections, and a stockpile needs something that holds more. They're especially useful in blind corners, where a straight row would be impossible to reach.
Drawers
Base-cabinet drawers are a strong choice for heavy cans, but only if the drawer and its runners are built to carry weight. Stand the cans upright in rows by type and add dividers so the rows don't slide around. Label tape on the inside edge of the drawer tells you where each category belongs. Write the contents on each lid with a marker so you can identify cans from above.
Bins, wall racks and carts
Bins act as a drawer for a fixed shelf. You slide the whole back section out instead of reaching past the front row. On a blank pantry wall or the inside of a door, a sturdy metal rack with baskets uses height that would otherwise go to waste. In very small pantries, Serious Eats staff use a rolling utility cart for bulky overflow and roll it out to get to the bottom shelves. The Spruce also suggests using the floor with lined bins when space is tight.
Pantry Can Organization by Category and Zone
Once you've chosen your storage, the layout decides whether the system keeps working. The guiding rule is simple: organize by how you look for things, not by what fits neatly.
Group by use, not by can size
When you cook, you go looking for "something with beans" or "the coconut milk," not "a medium can." So group by ingredient type or by purpose. The Spruce recommends grouping by use, for example keeping everything for one routine task on the same shelf. For cans, that might mean putting tomato products, broths and beans side by side because you often use them together for a weeknight pot.
Put cans where your hands expect them
- Eye level to waist height: the categories you open every week.
- Lower shelves and drawers: heavy backup stock, since lifting heavy cans from overhead is awkward and risky.
- High shelves: occasional items like seasonal baking cans or specialty ingredients.
- Next to the cooking zone, if possible: the shorter the walk from pantry to stove, the more likely you are to use what you have.
Label the shelf, not just the can
Labels on shelf edges or bin fronts show where things go back, which matters even more when several people share the kitchen. Serious Eats staff use painter's tape and a permanent marker for flexible labels. The Spruce suggests erasable labels or chalk if what you stock changes often. Shelf labels for cans also show gaps: an empty labeled spot reminds you to restock in a way that an empty bare shelf doesn't.
Keep each category in one place
Splitting a category between two spots is the quickest way to end up with duplicates. If beans are partly on the riser and partly in a bin on the floor, you'll check one place, think you're out, and buy more. If a category outgrows its space, give it a bigger one rather than letting it spill over.
Building a Rotation You'll Keep Using
Organization keeps cans visible, and rotation makes sure they get used in the right order. The method is first in, first out: older stock moves to the front, and new stock goes in behind it.
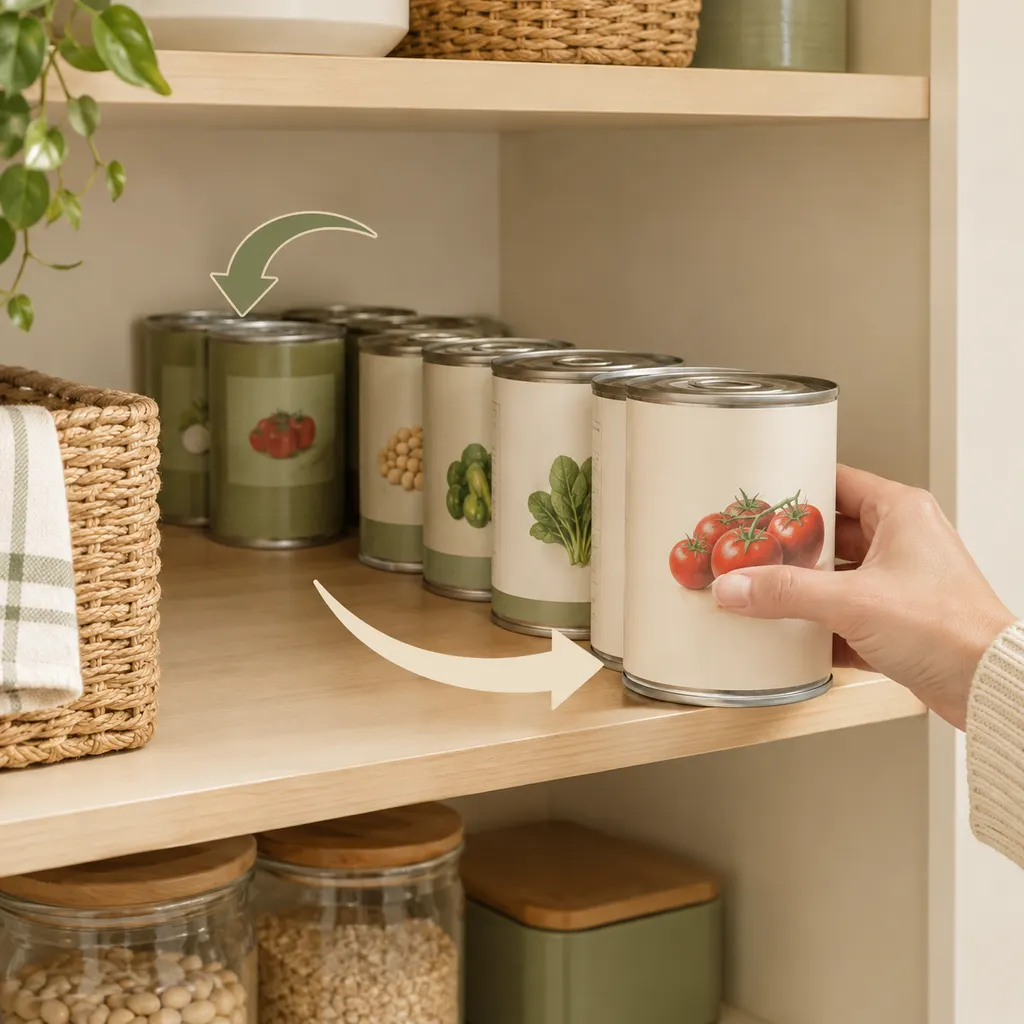
Load from the back
This is the habit that matters most, and it's easy to skip when you're tired. When you unpack groceries, pull the existing cans forward and put the new ones behind them. For most gravity dispensers, loading at the designated end does this for you. On risers and in bins, you have to do it by hand. BHG gives the same advice for drawers: put the cans with the nearest date at the front.
Make dates readable
Printed dates are often small, stamped on the bottom, or in a format that's hard to read. While you're unloading, write the month and year in large figures on the lid or the top edge of the label. It takes seconds and means you never have to tip a can over to check it.
Create a "use first" spot
Choose one obvious spot, like the front corner of a shelf or a small bin at eye level, for cans you want to use soon. When planning meals, look there first. This also helps you stay realistic about what you buy. If the same item keeps landing in the use-first spot, you're buying it faster than you use it.
Rotation mistakes to avoid
- Stacking new cans on top of old ones. The top can gets used first, so the bottom one waits indefinitely.
- Overfilling dispensers. Packing an extra can into the front of a full chute pushes it ahead of older stock.
- Buying cans just because they're on sale. Bulk deals only save money if the cans fit your system and you'll use them in time.
- Leaving sorting for "later." Bags of groceries left on the floor become a second, unrotated pantry.
Storage Conditions and Checking Can Condition
Where you put cans matters as much as how you arrange them. Better Homes & Gardens recommends a cool, dry place away from direct sunlight. A reach-in or walk-in pantry, a kitchen cabinet or a sturdy drawer can all work.
Spots that work against you
Some convenient spots conflict with that advice:
- Cabinets directly above or next to the stove or oven.
- Next to the dishwasher's steam vent or a kettle you use often.
- Shelves in direct sun from a window.
- Damp areas where metal can rust, including bins that sit on a cold floor that gets condensation.
If one of these is your only option, keep the smallest, fastest-moving stock there and put backup stock somewhere cooler.
Look while you rotate
An organized shelf makes condition checks almost automatic, because every can passes through your hands when you move it forward. BHG names rust and swelling as signs of spoilage. Any can that is bulging, leaking or badly rusted should be set aside and not used. For dents and other damage you're unsure about, follow your local food safety agency's guidance instead of guessing. Shelf-life recommendations also vary by product, so go by the label and official guidance rather than general rules of thumb.
Mind the weight
Full cans are heavy, and a fully loaded riser or stacked dispenser concentrates that weight on one section of shelf. Check your shelving's load rating if it's available. Spread heavy categories across shelves rather than putting everything on one span. Thin adjustable shelves resting on small pins are the ones most likely to sag over time.
Keeping the System Going With Your Shopping and Meal Plan
A pantry stays organized when what goes in matches what comes out. That connection happens when you plan and shop, not on the shelf itself.
Check the shelf before writing the list
Reviewers of the can rack covered by The Kitchn said that seeing every label made writing grocery lists easier, because they no longer had to guess. Visible stock pays off most here. Before you shop, look over your can zones and note only the real gaps. If you keep your list in the FoodEase shopping list, add items while you're standing at the pantry, so you're not trying to remember them later.
Plan meals around what's already there
Start each week's plan with the use-first spot. Pick a couple of meals that use those cans, then fill in the rest. The meal planner makes this easier because you can see the week in one place. If a can is sitting there without a purpose, browsing recipes or asking Sue, the FoodEase cooking assistant, for ideas can help you find a use for it before it drifts back on the shelf. When a recipe gives a different unit from the one printed on your can, the converters save you from guessing.
Run a short reset
The system doesn't need a big weekend overhaul. It needs a few minutes now and then:
- Pull forward any cans that have slipped back.
- Return stray cans to their category.
- Check the use-first spot and add those items to your meal plan.
- Look for rust, bulging or leaks.
- Update any shelf label that no longer matches what's there.
When to change the setup
Signs the system no longer fits: one category keeps overflowing, you keep buying duplicates of the same item, or a dispenser keeps jamming because your usual brand changed can sizes. These are signals to adjust the layout, not proof that organizing doesn't work. Move the category, swap the tool, or cut back on how much you buy. The goal never changes: every label visible, the oldest can at the front, and each can in its own place.
Common questions
What is the best way to organize cans in a deep pantry?
On deep shelves, you need a way to see or reach the back row. Tiered risers lift the rear cans so you can read their labels. Gravity dispensers roll the next can forward each time you take one. Pull-out bins bring the whole back section to you. Pick based on how many cans you keep and whether your can sizes are similar. Dispensers work best with consistent sizes. Risers and bins handle mixed sizes better.
Are can dispensers worth it?
They're worth it if you keep several cans of the same few items and your shelves are deep enough to fit them. They rotate stock automatically and show you when you're running low. They're less useful for odd-sized tins, short shelves, or a small, varied collection. Measure the shelf height and depth first. Then check that the dispenser's slots fit the can sizes you actually buy before you commit.
Should canned goods be grouped by size or by type?
Group by type or by how you use them, such as beans, tomatoes, fish, or baking cans. You go looking for an ingredient, not a can size, so grouping by type gets you to the right spot faster. Inside each category, you can still put taller cans at the back or on the lower tiers so the shorter ones in front don't hide them.
Where should I not store canned food?
Canned goods keep best somewhere cool, dry and out of direct sunlight. That means skipping cabinets above the stove or oven, next to the dishwasher's steam vent, or anywhere damp enough to rust metal. A pantry, a kitchen cabinet away from appliances, or a sturdy drawer usually works well, as long as the shelf can hold the weight.
How often should I reorganize my canned goods?
A full overhaul is rarely needed if each category has a fixed home. Instead, do a quick reset when you unload groceries by moving older cans forward and loading new ones behind them. Every month or two, take a few minutes to check dates and condition and to see whether any category has outgrown its space.